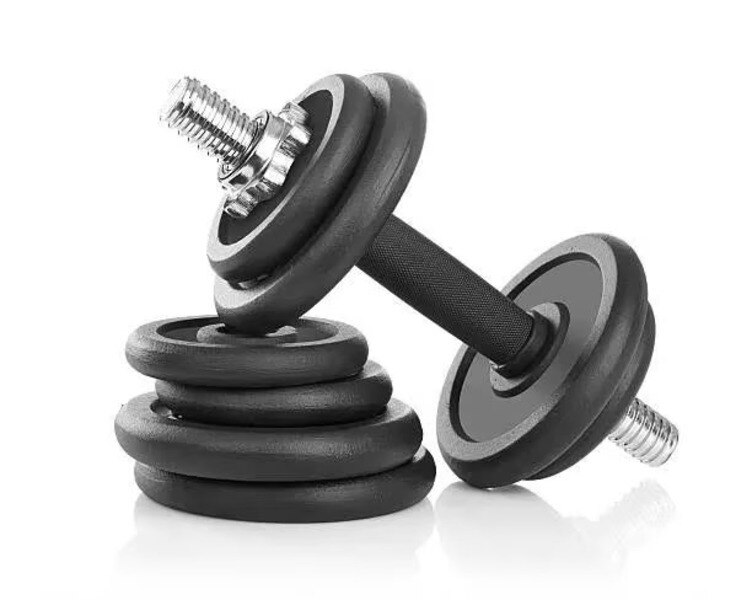
Uneven dumbbells can result from weight variation, dimensional distortion, cavity imbalance, material inconsistency, or a measurement error, and each fault leaves a different pattern. By recording cavity-level data and changing one process variable at a time, you can identify whether the problem lies in feeding, mould filling, cooling, alignment, or demoulding.
Key takeaways
- Define acceptable weight, dimensions, alignment, hardness and appearance first.
- Compare defects by cavity, position and production cycle to locate the fault.
- Check material drying, feeding and melt stability before adjusting machine settings.
- Change one process variable at a time, then run a repeatability test.
Define Uneven Production Before Changing Machine Settings
A piece is uneven only against a defined acceptance limit. Start with the product drawing and customer specification, not a universal tolerance: record total-piece weight, critical diameters and thicknesses, handle alignment, left-to-right symmetry, flash, hardness, density where relevant, and visible short shots or bubbles.
An injection-moulded production dumbbell and a tensile-test specimen do not share acceptance criteria. ASTM D638 and ISO 527-2 control specific tensile-test geometries and conditioning; they do not automatically define limits for finished gym weights.
- Stabilise cooling and conditioning time so every sample reaches the same measurement state.
- Confirm the scale with certified test weights, tare fixtures, and record the scale identification.
- Label every cavity, then record several consecutive shots by cavity and production time.
- Measure the same datum points and directions with vernier calipers; do not squeeze flexible PVC or EVA, because compression creates a false reading.
- Record hardness and density when the customer specification or compound makes them relevant, then photograph flash, short shots, bubbles, and misaligned handles.
Separate random variation from a repeating cavity pattern and a trend that changes during the run. One cavity repeatedly producing a light end points toward mould or filling conditions; all cavities changing together points toward the machine cycle or material.
A gradual weight drift is another class of dumbbell machine production problems and requires time-linked records before settings change.
Use Weight, Dimension, and Cavity Patterns to Locate the Fault
Compare cavity filling before changing settings: it tells you whether the mould or the whole machine is creating the uneven dumbbell. Weigh each part by labelled cavity, then measure matching diameters, thicknesses, and handle locations.
| Pattern | What it means | Inspect first |
|---|---|---|
| One cavity is light or short | Local mould-flow fault | Runner, gate wear or blockage, cold-slug well, vent, cooling channel, and flow length |
| Every cavity shifts together | Machine-wide variation | Material preparation, melt temperature, injection pressure, hydraulics, controls, and shot size |
| Both ends repeatedly differ | Mechanical or seating fault | Mould alignment, parting-line condition, ejector return, and insert seating |
| Weight changes gradually | Unstable metering or recovery | Screw position, cushion, recovery, back-pressure, and shot repeatability |
A good batch average can conceal one persistently light cavity and one heavy cavity. That average may look acceptable while customers receive visibly different pieces, so compare cavity means and matching dimensions instead of relying on the total average.
For dumbbell moulding machine troubleshooting, a falling or erratic cushion is a stronger warning than injection pressure alone. Record it after every shot; feed-throat bridging, fluctuating feed, a worn screw or barrel, a leaking non-return valve, or unstable metering can drive the trend.
Do not increase pressure to correct repeating end imbalance. A misaligned mould or displaced insert can produce the same defect every cycle, while extra pressure adds flash and mould deflection without restoring symmetry.
Check Material Preparation, Feeding, and Melt Stability
Uneven pieces can start before injection. For dumbbell machine production problems, check hopper bridging, fluctuating feed, pellet or compound size, contamination, mixed-batch consistency, incorrect mix ratio, inadequate blending, and material left in the barrel after a colour or compound changeover.
- For PVC, link dark specks, brown streaks, gas, or worsening variation to thermal degradation, barrel or nozzle dead spots, excessive residence time, and failure to purge after stoppages. More injection pressure will not repair degraded material; purge the machine and keep PVC within the supplier’s processing window.
- For EVA and other moisture-sensitive compounds, compare drying temperature, time, and storage with the supplier’s data sheet, then measure moisture. Over-drying and excessive residence time can also alter flow.
- For rubber or filled compounds containing cement, steel, sand, or another dense filler, sample the beginning, middle, and end of a hopper refill. Compare density or ash where practical to expose segregation, poor premixing, or inconsistent regrind.
- Set the selected processing temperature from the supplier’s data sheet, not from a visual guess. A controlled material trial is stronger evidence.
| Defect appearance | More likely material issue | Check before blaming the mould |
|---|---|---|
| Splay or bubbles | Moisture or volatile contamination | Moisture reading and drying record |
| Dark specks or brown streaks | PVC degradation or dead spots | Purge history and barrel/nozzle inspection |
| Uneven density through a refill | Filler segregation or poor blending | Beginning, middle, and end samples |
These checks form the material stage of dumbbell moulding machine troubleshooting. Stable material preparation must come before pressure changes.
Tune Filling, Venting, Cooling, and Demoulding One Variable at a Time
A short shot at the last-to-fill area points to low melt or mould temperature, insufficient injection speed or pressure, or a gate that freezes too early. A local short shot beside a thin section points instead to a blocked gate, poor venting, or an unsuitable wall transition.
1. Stabilise the material, scale, conditioning time, and machine sensors. Establish repeatable shot weight and cushion before changing settings; an unstable shot size makes every pressure comparison unreliable.
2. Inspect the filling path and mould closure. Clean last-to-fill vents and look for blockage, burn marks, gas staining, and trapped air. Check gates, runners, cold-slug wells, insert seating, clamping, mould alignment, and closure. Do not increase pressure to conceal misalignment or inadequate clamping.
3. Check cooling before tuning filling. Inspect channels for blockage, scale, and leaks; measure water flow and mould-plate temperatures at several locations. Thin handles and thick end masses cool differently, so record the interval between ejection and measurement because early measurement exaggerates warpage.
4. Tune one variable per trial: melt temperature, mould temperature, injection speed, holding pressure, holding time, cooling time, then shot size. Higher melt or mould temperature improves flow; speed fills before the gate freezes, while holding pressure and time replace shrinkage until the gate seals.
Excessive shot size or packing creates flash and stress, while insufficient cooling permits distortion after ejection.
Record each setting and result, including weight and cavity pattern. This dumbbell moulding machine troubleshooting sequence identifies the cause instead of masking it with simultaneous changes.
Set a Repeatability Test Before Choosing or Servicing a Machine
Require a signed acceptance run after troubleshooting, using your actual PVC, EVA, rubber, or filled formulation and the actual mould—not demonstration material. The run must produce consecutive shots under recorded settings, with start-up scrap identified separately.
Require the protocol to state:
- Target mass and allowable mass range
- Critical dimensions, handle-alignment limit, and cavity-to-cavity limits
- Flash limit and cycle time
- Number of consecutive shots and permitted start-up scrap
- Cooling and conditioning time
- Scale, caliper, datum points, fixtures, and measurement method
Stabilise material handling and measurement instruments first. Establish shot-weight and cushion repeatability next; inspect gates, runners, vents, cooling channels, inserts, and mould alignment after that. Only then tune melt and mould temperature, injection speed, pack pressure, pack time, and cooling time, changing one variable per trial.
| Evidence | What it proves | What it does not prove |
|---|---|---|
| Repeatability record by cavity and shot | Stable production on your formulation and mould | Universal performance on another mould |
| Mass, dimensions, alignment, flash, and cycle data | Whether the finished pieces meet your specification | That nominal clamping tonnage is sufficient |
| Sensor checks, conditioning time, and start-up scrap | That measurements and waste figures are credible | That a brief demonstration predicts production |
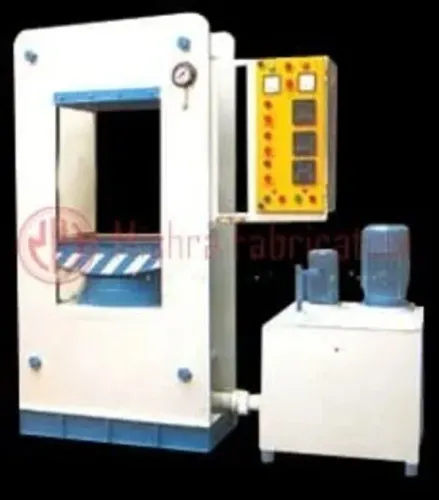
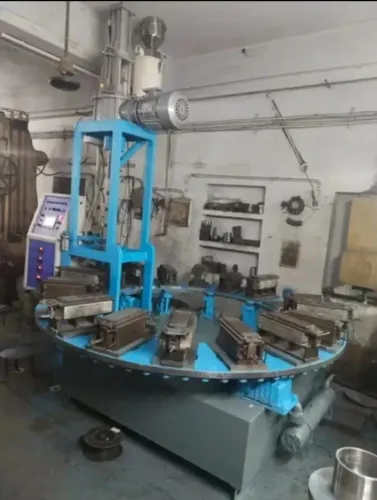
A Delhi buyer comparing a dumbbell making machine for uneven production in Delhi should compare these records, not tonnage alone. Mishra Fabrication can be considered alongside other suppliers when it demonstrates the specified result on your formulation and mould, whether you are evaluating a dumbbell manufacturing machine in delhi.
Related product
 | Mishra Fabrication is a trusted manufacturer and supplier of high-performance Dumbbell Making Machines designed for efficient production of gym... View product → |
Frequently asked questions
How do you define uneven production in dumbbell moulding?
Compare each piece with the product drawing and customer specification for weight, critical dimensions, alignment, symmetry, flash, hardness, density, short shots and bubbles.
How can weight and cavity patterns locate a dumbbell machine fault?
Record piece weight and dimensions by cavity and position. A pattern limited to one cavity points toward that cavity, while changes across all cavities point toward material or process conditions.
What material checks help resolve dumbbell moulding problems?
Check material preparation, drying where required, feed consistency, contamination, mixing and melt stability before changing filling or cooling settings.
How should you tune a dumbbell moulding machine after finding uneven pieces?
Adjust filling, venting, cooling or demoulding one variable at a time, record the result, and use a repeatability test before selecting or servicing equipment.
Keywords