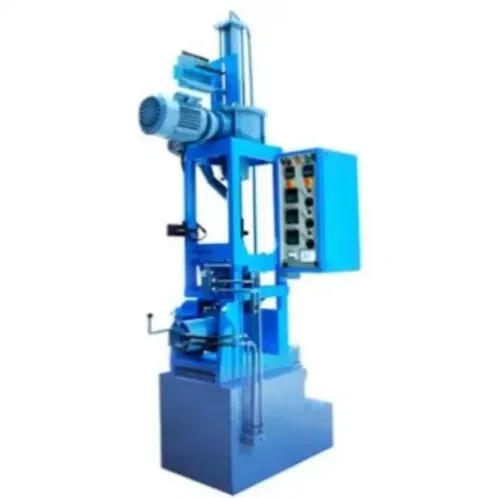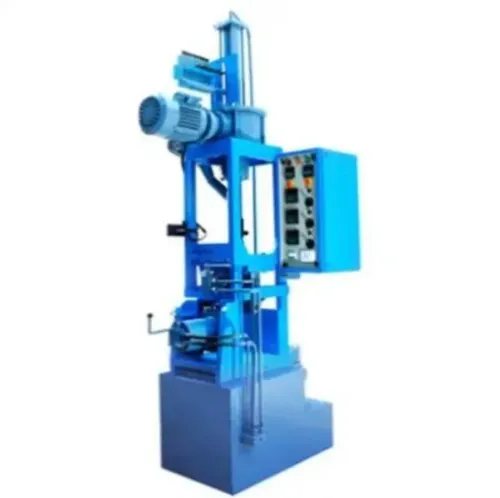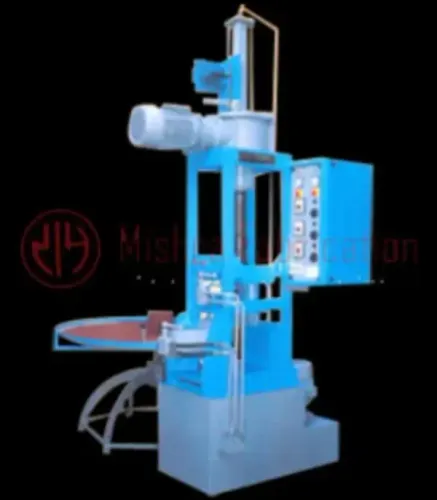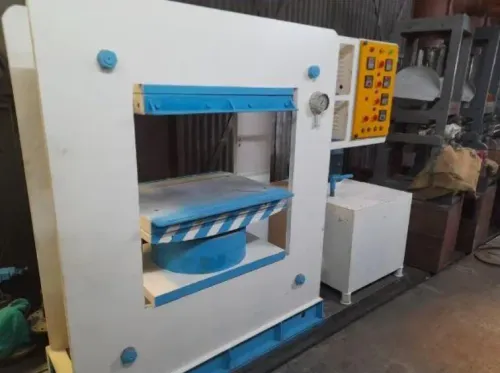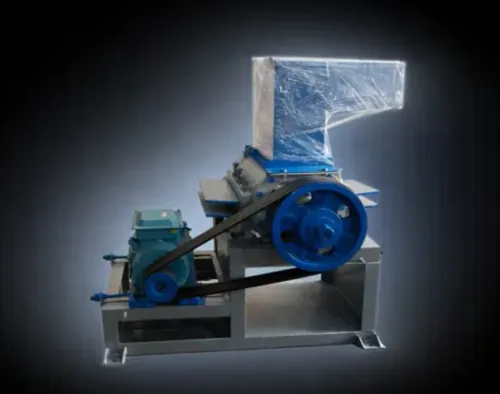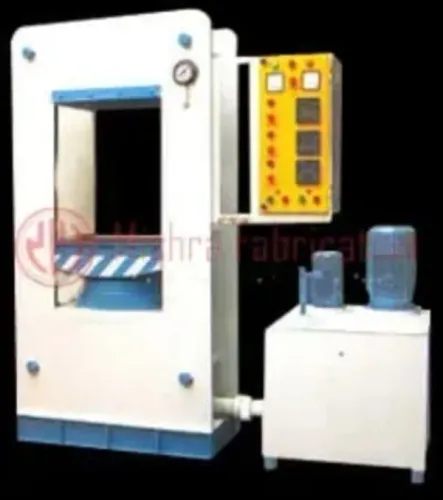
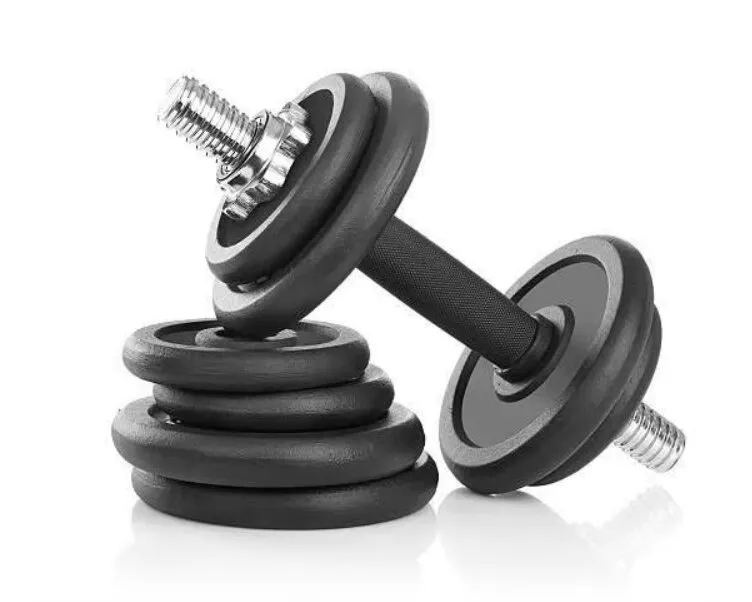
Residual PVC, EVA, rubber, or plastic, unstable temperatures, blocked vents, leaking check rings, and poor core alignment can turn a repeatable dumbbell moulding process into a stream of rejects. A disciplined maintenance schedule and defect-by-defect diagnosis let you identify whether the cause is the machine, mould, material, process, or operator before you order repairs.
Key takeaways
- Check heaters, hydraulics, moulds, and safety systems at every shift.
- Clean vents and lubricate specified points without contaminating the mould.
- Use pressure, temperature, cooling, and material checks to trace defects.
- Escalate leaks, electrical faults, and repeated weight variation for repair.
Build a Daily, Weekly, and Monthly Maintenance Routine
A 10-minute check each shift prevents most stoppages. The phrase dumbbell making machine for maintenance problems points to a practical need: schedule work before flash, short shots, leaks, or heater faults stop production.
| Interval | Maintenance work |
|---|---|
| Daily | Remove PVC, EVA, or rubber residue from the mould cavity, parting line, hopper, and accessible barrel surfaces. Check oil or air leaks, cooling flow, displayed temperatures, pressure, guards, sensors, and emergency-stop operation. Wipe mould faces dry; do not scrape them with hardened steel. |
| Weekly | Lubricate guide pins, slides, ejector points, and specified moving joints with the lubricant named in the machine manual. Grease only clean points, apply the specified quantity, and wipe away excess. Tighten accessible terminals, hose fittings, clamps, guards, and mould fasteners. |
| Monthly | Inspect screw and barrel wear, heater bands, thermocouples, hydraulic filters, oil level and condition, pneumatic drains, cooling lines, clamp alignment, ejectors, and electrical-cabinet connections. Compare actual temperature with an independent calibrated instrument and back up controller settings and alarm history. |
Before entering the mould area or working on hydraulics, heaters, or the cabinet:
- Lock out and tag out electrical, hydraulic, pneumatic, and stored mechanical energy.
- Release pressure and wait for hot surfaces to cool.
- Verify zero energy with approved instruments and a physical test.
- Record the symptom, alarm, temperature, pressure, shot weight, and mould condition before replacing parts.
Use a Component-by-Component Inspection Checklist
Start every dumbbell making machine servicing inspection with lockout/tagout. Isolate electrical, hydraulic, pneumatic, and stored mechanical energy, then verify zero energy before entering the mould area or opening the cabinet. Record actual temperatures, pressures, alarms, shot weight, and mould condition before replacing parts.
| Component | Inspect | Failure sign or action |
|---|---|---|
| Machine | Frame, injection unit, hopper, screw, barrel, clamp, guide pillars, ejector, fasteners | Check looseness, wear, residue, abnormal noise, uneven movement, and incomplete ejection. |
| Mould | Cavity, parting line, vents, shut-offs, alignment, core, ejector pins, cooling channels | Remove blocked vents; correct mismatch or damaged shut-offs causing flash, short shots, or weld lines. |
| Hydraulic | Oil level and condition, pump, motor, hoses, manifold, valves, cylinder seals, pressure gauge | Investigate leaks, pressure loss, slow clamping, or drifting cylinders; do not tighten a pressurised fitting. |
| Electrical | Cabinet terminals, fuses, contactors, servo drive, controller, heaters, thermocouples, sensors, cable insulation | Look for heat marks, loose wires, unstable temperature, alarms, or intermittent signals; use the electrical drawings. |
| Cooling | Water hoses, filters, manifold, flow, temperature, leaks, and mould-channel connections | Restore blocked or unequal flow when parts warp, stick, or cool unevenly. |
| Safety | Guards, door switches, two-hand controls, emergency stops, presence sensors, and interlocks | Function-test every device after maintenance; never bypass an interlock. ISO 20430 provides a machine-safety reference. |
Keep the mould setup data, hydraulic schematic, electrical drawings, controller backup, and spare-part list with the machine. These documents shorten diagnosis when a valve, heater, sensor, seal, or controller fails.
Clean and Lubricate Without Damaging the Machine
Isolate electrical, hydraulic, pneumatic, and stored mechanical energy before entering the mould area or cleaning near the screw, barrel, heaters, or electrical cabinet. Lock out the machine, verify zero energy, and never defeat a guard switch, two-hand control, emergency stop, or mould-area sensor. Test every interlock after maintenance.
- Remove PVC, EVA, or rubber residue while the material is warm enough to peel, not hot enough to burn or smear. Use a wooden, brass, or approved plastic tool; never use a steel chisel on the cavity, parting line, screw, or barrel.
- Purge remaining compound with the approved cleaning material, then wipe the screw and barrel with lint-free cloth. Do not flood seals, thermocouples, heater bands, connectors, or sensors with solvent.
- Brush blocked mould vents with a soft brass brush and clean the cavity with a non-abrasive solvent approved for its coating. Dry it completely, then apply a thin mould-release or rust-preventive film only if the mould supplier permits it.
- Lubricate only specified points. Keep grease off the cavity, shut-offs, seals, heaters, and sensors; excess grease attracts compound and restricts movement. Record the product, point, and amount in your dumbbell moulding machine maintenance log.
| Lubricant | Use | Protection rule |
|---|---|---|
| High-temperature grease | Pins, slides, ejector guides | Use the specified grade; apply a thin film |
| Hydraulic oil | Reservoir and hydraulic circuit | Match the machine specification; never substitute grease |
| Dry-film lubricant | Approved mould slides or guides | Use only when wet grease contaminates the product |
After cleaning, inspect the mould for flash-producing damage and check that covers, guards, cables, and sensor connectors are dry and secure. Calibration faults need measurement, not lubricant.
Trace Short Shots, Flash, Voids, Warping, and Weight Variation
A short shot leaves the grip or head incomplete; flash appears as a thin fin at the parting line. Voids show as bubbles, sink marks, or hollow sections, while warping appears as a bent handle or uneven head. Weight variation points to unstable filling, leakage, or inconsistent compound quantity.
Good dumbbell moulding machine maintenance treats the mould as an active process component, not a passive tool. Blocked vents, damaged shut-offs, poor alignment, an off-centre core, or uneven clamping can cause short shots and flash even when injection pressure looks adequate.
Trace causes in this order:
1. Check temperature. Compare barrel, nozzle, and mould readings with an independent calibrated probe. A loose thermocouple, failed heater band, or solid-state relay can display a normal value while producing cold spots, unmelted material, black specks, or changing shot weights.
2. Check material. Confirm compound type, dryness, batch consistency, feed quantity, and actual temperature. Variation here creates bubbles, poor flow, and weight changes.
3. Check the mould. Inspect vents, shut-offs, parting lines, guide pins, core location, and cavity damage. Measure coating thickness around the core instead of correcting eccentricity with more clamp force.
4. Check pressure and cushion. Record peak injection pressure, holding pressure, cushion, and cycle time. A leaking check ring or unstable hydraulics causes incomplete filling and weight variation.
5. Check cooling. Uneven or blocked water flow produces warping, sink marks, and dimensional drift.
6. Check filling. Verify gate restriction, runner balance, insert loading, and cavity fill sequence; trapped air needs venting, not simply higher pressure.
Decide When the Fault Needs Repair or a Better Service Setup
Do not order dumbbell machine repair until you record the defect across several cycles. A fault that follows the material batch points to material; one that follows a mould cavity points to the mould.
- Process fault: repeat the cycle with fixed temperature, pressure, cooling time, and shot size. If weight and filling stabilise, the setting or sequence was wrong.
- Material fault: compare a sealed, correctly dried batch with the suspect compound. Pellets, PVC, or EVA with different moisture, temperature, hardness, or contamination can cause voids and weight variation.
- Mould fault: inspect vents, gates, alignment, cavity wear, core seating, and cooling passages. If the defect remains in one cavity, repair the mould.
- Operator fault: run a documented recipe with one trained operator. If results change with handling, loading, purging, or demoulding, correct the method first.
- Mechanical fault: check platen parallelism, clamp movement, screw, check ring, cushion, and ejector repeatability.
- Hydraulic fault: compare commanded and actual injection pressure, pump noise, valve response, oil temperature, and pressure holding.
- Electrical fault: compare alarms, heater current, thermocouple readings, sensor signals, and independent barrel temperatures. A normal display can hide a loose thermocouple or failed heater.
Before work, isolate electrical, hydraulic, pneumatic, and stored mechanical energy and verify zero energy. Require drawings, hydraulic schematics, spare-part numbers, mould data, controller backup, alarm history, and local response times from any dumbbell manufacturing machine in Delhi. Ask Mishra Fabrication for these records before approving dumbbell machine repair.
Related product
 | Mishra Fabrication is a trusted manufacturer and supplier of high-performance Dumbbell Making Machines designed for efficient production of gym... View product → |
Frequently asked questions
What should you check during daily dumbbell making machine maintenance?
Inspect the mould, heaters, hydraulic leaks, hoses, electrical controls, safety guards, material feed, and finished dumbbells at each shift.
How do you clean and lubricate a dumbbell moulding machine safely?
Remove resin and dust with approved tools, keep contaminants out of the mould and electrical cabinet, and apply only the lubricant specified for each component.
What causes short shots, flash, voids, warping, and weight variation?
Check material condition, shot size, injection pressure, mould temperature, cooling time, clamping force, venting, and feed consistency before changing several settings at once.
When does a dumbbell machine fault require professional repair?
Arrange repair for hydraulic or electrical leaks, damaged heaters, failed safety devices, abnormal noise, repeated defects, or faults that return after routine servicing.
Keywords